Hey there, flavor fanatics! Rachel Monroe here, coming at you straight from my Texas kitchen. There is just something truly magical about a perfectly cooked potato, isn't there? It is pure comfort food, adaptable to almost any meal. Today, we are diving into a recipe that transforms humble potatoes into an absolute star. Get ready for my incredible Potato Finger Sticks.
These are not just any potato sticks; they are a tribute to simple ingredients creating sensational flavors. I remember my grandma making something similar for weekend gatherings. The aroma would fill her entire house. We would all gather around, eager to grab a handful. These sticks bring back all those warm, happy memories.
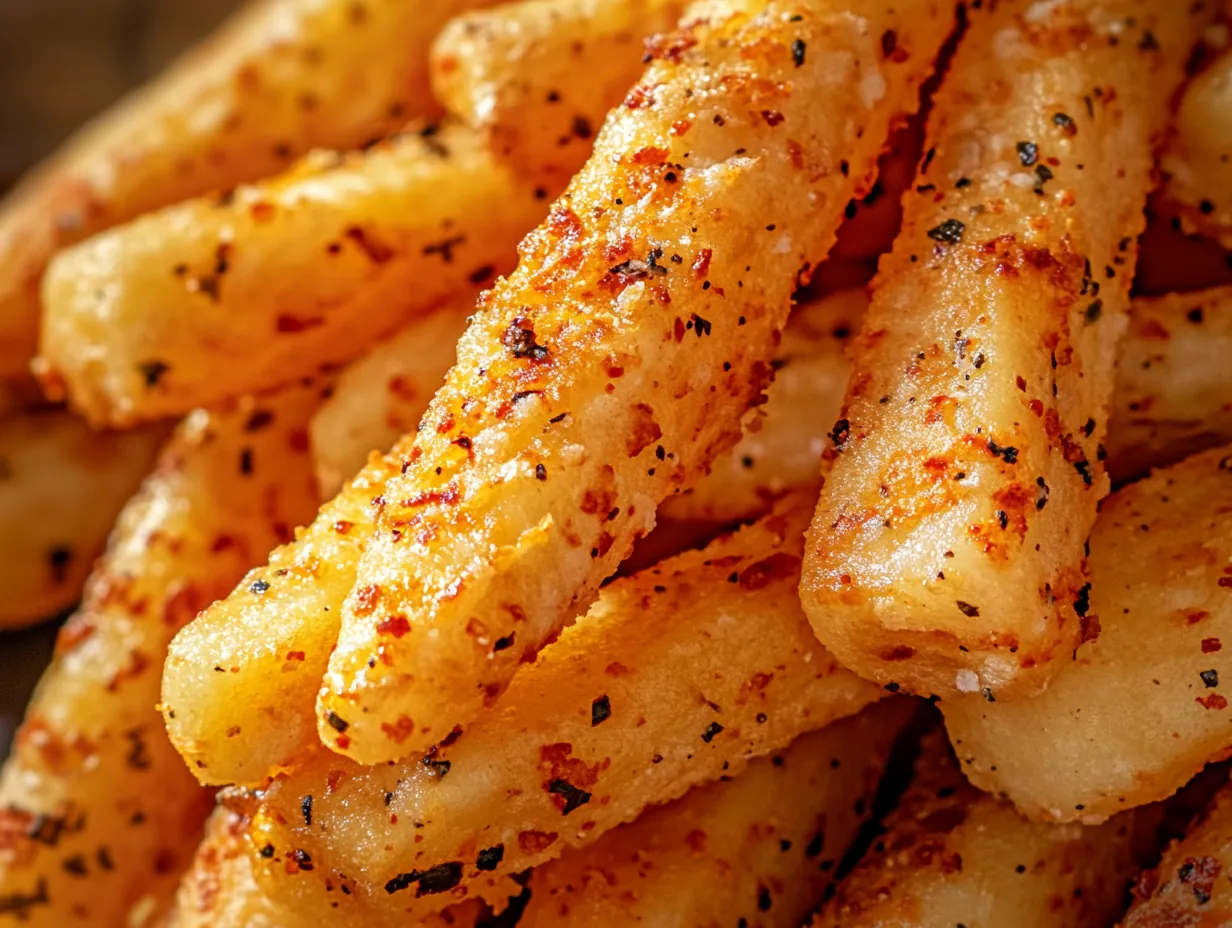
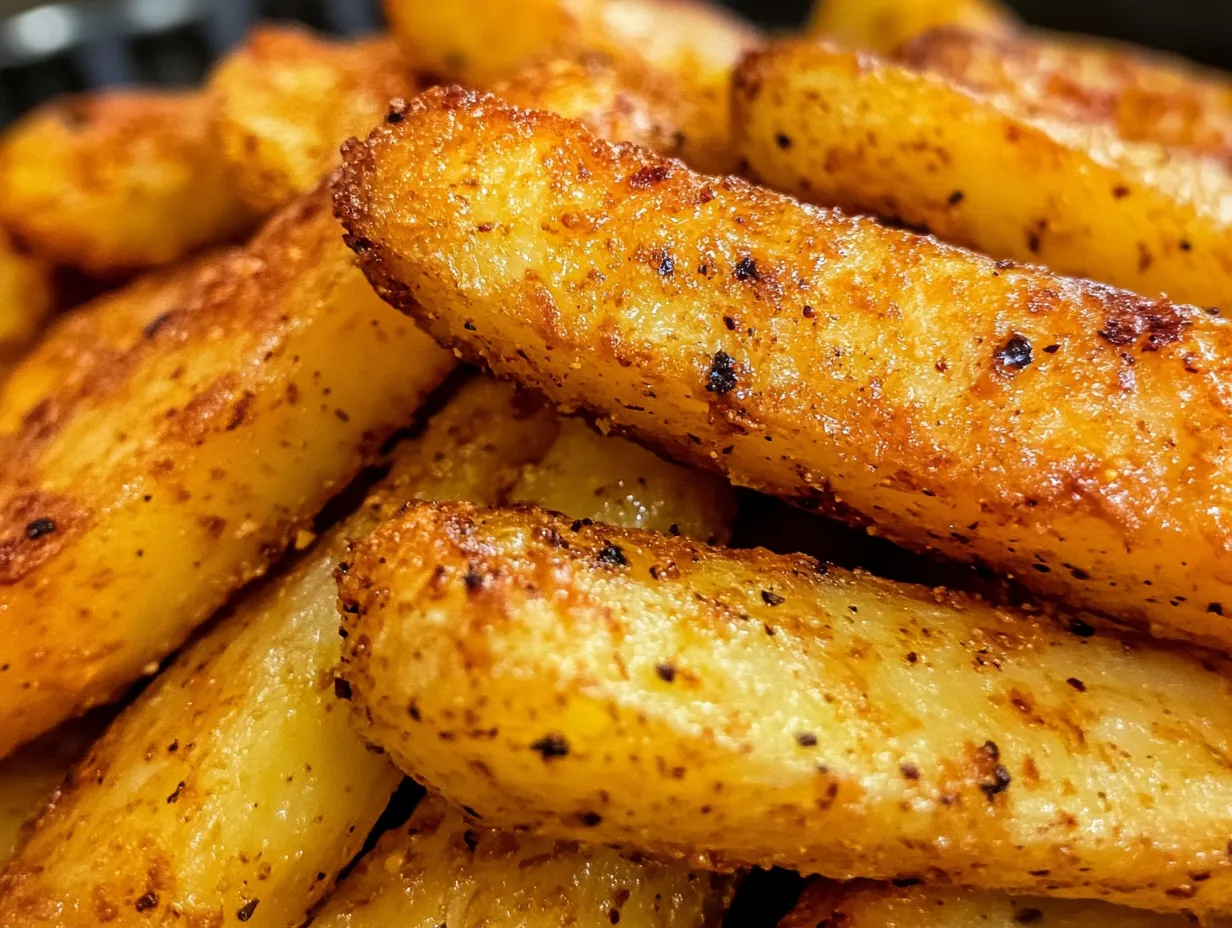
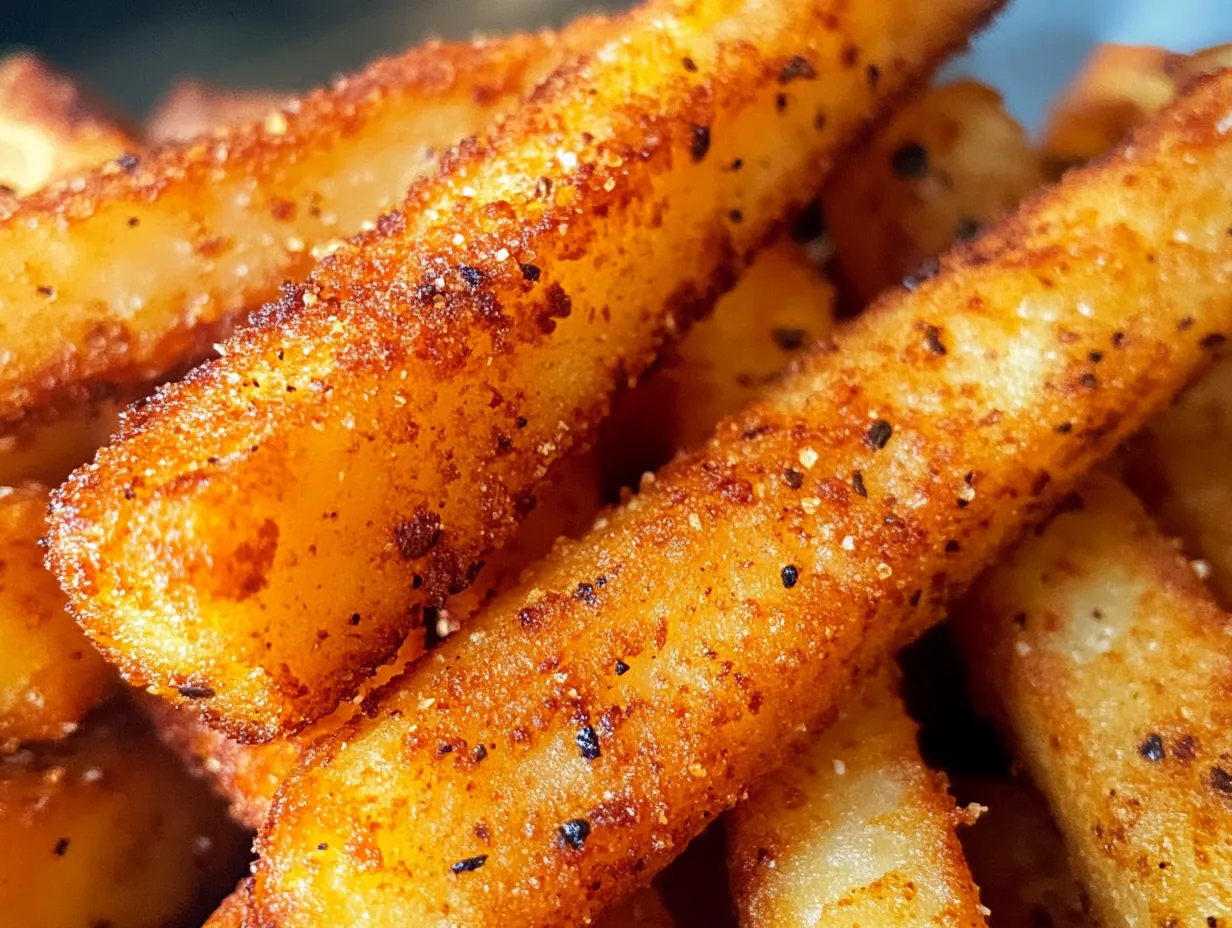
This recipe is about bringing that joy and deliciousness into your own home. Imagine golden, crispy exteriors giving way to tender, fluffy interiors. They are seasoned just right, ready to be dipped or enjoyed on their own. They are perfect for breakfast, a quick lunch, or as a fun dinner side. You will absolutely love them. Let's make some serious potato magic!
Essential Ingredients for Crispy Potato Sticks
Crafting these amazing potato finger sticks starts with selecting the best ingredients. Each component plays a vital role in achieving that perfect texture and unforgettable taste. Gather your supplies and let's get cooking.
- 4 large Russet potatoes, about 2 pounds
- 4 cups cold water (for soaking)
- 2 tablespoons apple cider vinegar (for soaking)
- 1/2 cup all-purpose flour
- 1 teaspoon garlic powder
- 1 teaspoon onion powder
- 1 teaspoon smoked paprika
- 1/2 teaspoon black pepper
- 1 teaspoon salt, plus more to taste
- 3 cups vegetable oil, for frying (or enough to fill your pan about 2 inches deep)
- Optional: Fresh parsley, chopped, for garnish
- Optional: Your favorite dipping sauce
Choosing Your Potatoes
How to Select: For the best finger sticks, always choose large Russet potatoes. They have a high starch content. This starch is key to achieving that wonderfully fluffy interior and super crispy exterior. Look for firm potatoes without any green spots or sprouts.
Its Role: Russets become incredibly light and airy inside when cooked. Their texture is perfect for absorbing seasonings. They crisp up beautifully, giving you that satisfying crunch.
One Substitution: Yukon Gold potatoes can work if Russets are unavailable. They offer a creamier texture. However, they might not achieve the same level of crispness.
The Right Frying Oil
How to Select: Vegetable oil is my go-to for frying these sticks. Canola or peanut oil also work exceptionally well. Choose an oil with a high smoke point. This prevents burning and keeps your kitchen smoke-free.
Its Role: The oil is responsible for frying the potato sticks to a golden brown perfection. It creates that irresistible crispy crust. It also ensures even cooking throughout each stick.
One Substitution: Avocado oil is a fantastic, healthier alternative. It also has a high smoke point. It imparts a clean, neutral flavor, letting the potato shine.
Flavorful Spice Blend
How to Select: Use fresh, high-quality garlic powder, onion powder, and smoked paprika. Older spices lose their potency. Check expiration dates for optimal flavor. Fresh spices make a huge difference.
Its Role: This blend elevates the natural potato flavor. Garlic and onion powder provide a savory depth. Smoked paprika adds a warm, earthy, and slightly smoky note. It gives the sticks a beautiful color too.
One Substitution: Feel free to experiment with other spices. A pinch of cayenne pepper adds a nice kick. Rosemary or thyme can offer an herbal twist. Customize it to your liking.
Crafting Perfect Crispy Potato Finger Sticks
Get ready to transform simple potatoes into an irresistible treat. Follow these steps carefully for the crispiest, most flavorful finger sticks you have ever made. You will be amazed by the results.
Prepare the Potatoes: First, peel your Russet potatoes thoroughly. Next, slice each potato lengthwise into even 1/4-inch thick planks. Then, stack these planks and cut them into 1/4-inch wide sticks. Aim for uniform sizes. This ensures even cooking for every single piece.
Chef's Tip: Uniformity is your friend here. Irregularly sized sticks will cook unevenly. Some will burn while others remain undercooked. Take your time to get those cuts consistent.Soak for Crispness: Place the cut potato sticks into a large bowl. Cover them completely with cold water. Add the apple cider vinegar to the water. Let them soak for at least 30 minutes, or even up to 2 hours. This step is crucial for removing excess starch. It helps achieve maximum crispness.
Chef's Tip: Do not skip the soaking step. The vinegar helps break down surface starches even more effectively. This process prevents the sticks from sticking together. It also contributes significantly to their ultimate crispiness.Dry the Potatoes Thoroughly: After soaking, drain the potatoes completely. Spread them out in a single layer on several sheets of paper towels. Pat them dry with more paper towels. You want them as dry as possible. Any remaining moisture will reduce crispiness. It can also cause oil to splatter during frying.
Chef's Tip: This drying step is absolutely non-negotiable. Excess water lowers the oil temperature. It also creates steam, which makes your potatoes soggy instead of crisp. Take extra time to ensure they are bone-dry.Season the Flour Mixture: In a separate shallow dish or large Ziploc bag, combine the all-purpose flour, garlic powder, onion powder, smoked paprika, black pepper, and 1 teaspoon of salt. Mix these dry ingredients thoroughly until well combined. This ensures an even distribution of flavor on every stick.
Chef's Tip: Whisk the dry ingredients together really well. This prevents clumps of spices on some sticks and bare spots on others. An even coating guarantees consistent flavor in every bite.Coat the Potato Sticks: Add the dried potato sticks to the seasoned flour mixture. Toss them gently to coat each stick evenly. If using a Ziploc bag, shake it gently until all sticks are covered. Shake off any excess flour before frying. A thin, even coating is ideal.
Chef's Tip: Avoid over-coating the potatoes. Too much flour can create a gummy texture. It can also cause the sticks to burn faster. A light, even dusting is all you need for that perfect crisp.Heat the Oil: Pour the vegetable oil into a large, heavy-bottomed pot or Dutch oven. The oil should be about 2 inches deep. Heat the oil over medium-high heat until it reaches 350°F (175°C). Use a kitchen thermometer to monitor the temperature accurately. Correct oil temperature is vital for frying success.
Chef's Tip: Maintaining the correct oil temperature is crucial for crispy results. If the oil is too cold, the sticks will absorb too much oil and become greasy. If it is too hot, they will burn on the outside before cooking through.Fry the Potato Sticks in Batches: Carefully add a single layer of coated potato sticks to the hot oil. Do not overcrowd the pot. Fry them for 5-7 minutes, turning occasionally, until they are golden brown and crispy. Frying in batches is essential for maintaining oil temperature. Overcrowding drops the temperature too much.
Chef's Tip: Patience is a virtue when frying. Overcrowding the pot significantly lowers the oil temperature. This leads to soggy, oily potatoes instead of crispy ones. Give each batch ample space to fry properly.Drain and Season: Once golden and crispy, use a slotted spoon or spider to remove the potato sticks from the oil. Transfer them to a wire rack set over a baking sheet lined with paper towels. Immediately sprinkle them with additional salt to taste while they are hot. The salt adheres best right out of the oil.
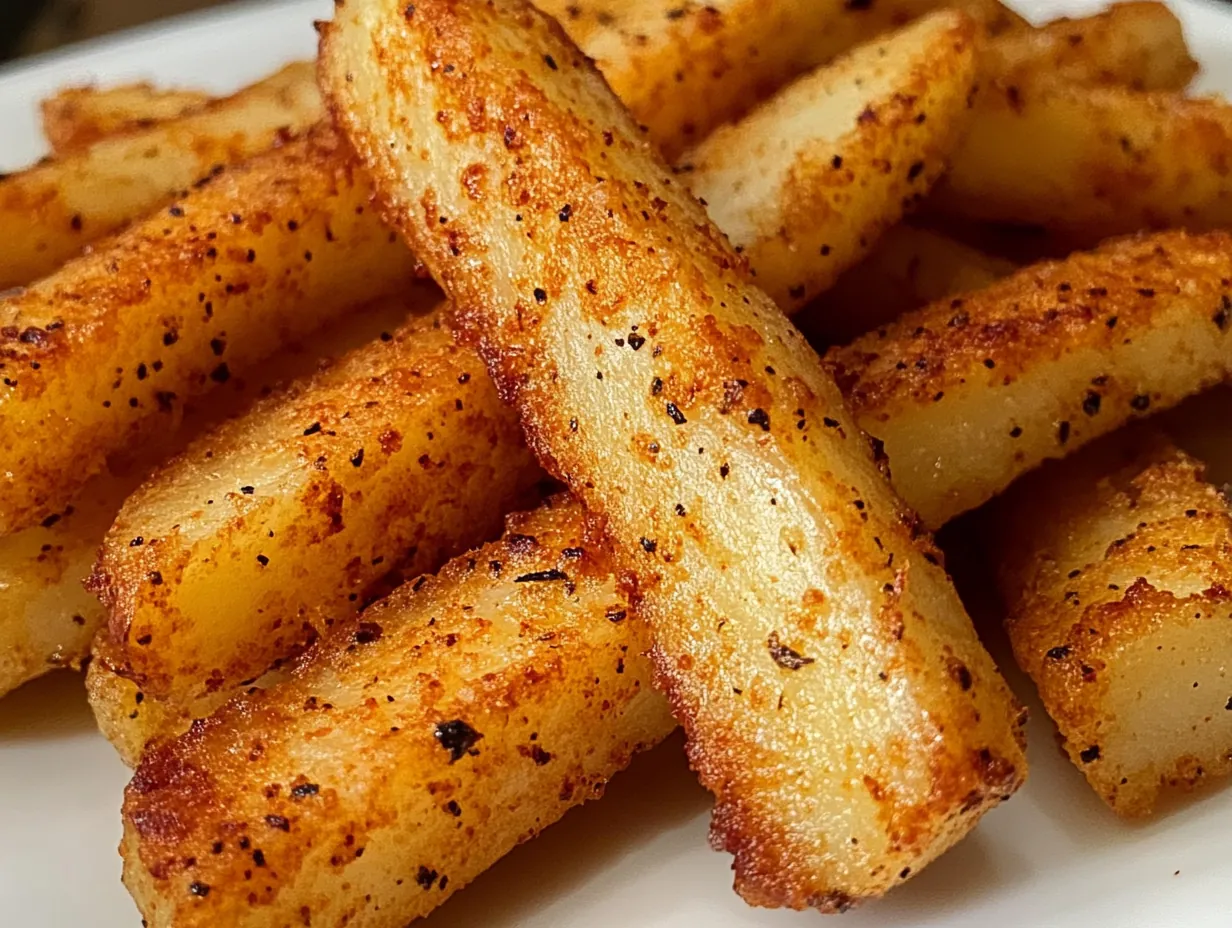
Chef's Tip: Seasoning immediately after frying is key. The heat helps the salt stick and melt into the surface of the sticks. This ensures every bite is perfectly seasoned and utterly delicious.Repeat and Serve: Continue frying the remaining potato sticks in batches, ensuring the oil returns to 350°F (175°C) between batches. Once all batches are cooked, gather them on a serving platter. Garnish with fresh chopped parsley if desired. Serve immediately with your favorite dipping sauce. Enjoy every single crispy bite!
Chef's Tip: These finger sticks are best enjoyed fresh and hot. The crispness is at its peak right after frying. Have your dipping sauces ready. Gather your hungry crowd because these will disappear fast.
Exciting Variations for Your Potato Finger Sticks
My Potato Finger Sticks are perfect as they are, but the fun truly begins when you start experimenting. These variations let you tailor the recipe to your cravings. Get creative in your kitchen.
My Creative Touch:
- Spicy Kick: For those who love a little heat, add 1/2 teaspoon of cayenne pepper to the flour mixture. You can also drizzle the cooked sticks with a spicy mayo. A dash of hot sauce after frying also works wonders. It gives a fantastic, fiery zing.
- Cheesy Garlic Herb: After frying, toss the hot potato sticks with 1/4 cup grated Parmesan cheese. Add 1 tablespoon of finely chopped fresh rosemary and thyme. The residual heat will melt the cheese slightly. It creates a savory, aromatic coating.
Gourmet Pairings:
- Drink Pairing: A cold, crisp lager or a sparkling lemon-lime soda makes a fantastic companion. The bubbles and slight acidity cut through the richness of the fried potatoes. It is a refreshing balance that enhances the experience.
- Side Dish Pairing: Serve these crispy sticks alongside a juicy grilled steak or tender baked chicken. They also make an excellent partner to a vibrant garden salad. The fresh greens offer a lovely contrast in texture and flavor.
Storing and Reheating Your Potato Finger Sticks
While these potato sticks are best enjoyed fresh, I know leftovers happen. Here is how to keep them delicious for another round.
Storage: Allow any leftover Potato Finger Sticks to cool completely to room temperature. This prevents condensation and sogginess. Store them in an airtight container in the refrigerator for up to 3 days. Make sure they are sealed well. This protects their flavor and texture.
Freezing: Freezing fried potatoes can be tricky. They often lose their crispness when thawed. If you must freeze, par-fry them first until very light golden. Cool completely, then freeze in a single layer on a baking sheet. Transfer to a freezer bag once solid. They will last up to 1 month. Re-fry from frozen until golden and crispy.
Reheating: The best way to reheat these potato sticks is in the oven or an air fryer. Preheat your oven to 400°F (200°C). Spread the sticks in a single layer on a baking sheet. Bake for 8-12 minutes, or until heated through and re-crisped. An air fryer at 375°F (190°C) for 5-7 minutes also works wonders. Avoid the microwave; it makes them soggy.
Your Top Questions About Crispy Potato Finger Sticks Answered
Got questions about making these sensational potato sticks? I have got you covered! Here are some common queries and my best advice for success.
What kind of potatoes are best for finger sticks?
Russet potatoes are absolutely the best choice for making crispy finger sticks. Their high starch content gives you that perfect combination of a fluffy interior and a super crispy exterior. Other potato varieties tend to be too waxy and do not crisp up as well.
Can I bake these potato finger sticks instead of frying them?
Yes, you can bake these for a healthier option, but the texture will be different. Toss the coated sticks with 2 tablespoons of oil. Spread them in a single layer on a baking sheet. Bake at 425°F (220°C) for 25-35 minutes. Flip them halfway through. They will be golden and tender but less intensely crispy than fried versions.
How do I make sure my potato sticks are extra crispy?
Several things contribute to extreme crispness. First, soak the cut potatoes to remove excess starch. Second, dry them thoroughly before coating. Third, ensure your oil temperature is consistent at 350°F (175°C). Finally, fry in small batches. This prevents the oil temperature from dropping too much. These steps are vital for success.
Alright, my friends, we have just created something truly special. These Potato Finger Sticks are more than just a side dish; they are an experience. They embody everything I love about home cooking: simple ingredients, big flavors, and memories made around the table. I truly hope you feel that Texas-sized warmth and satisfaction in every single crispy bite.
Do not be shy about trying this recipe. Even if your first batch is not absolutely perfect, remember that cooking is a journey. Every time you step into the kitchen, you are learning and growing. The most important thing is to have fun and enjoy the process. Your loved ones will appreciate the effort, and the delicious results will speak for themselves.
So go ahead, get those potatoes soaking, heat up that oil, and bring some serious crunch to your table. I cannot wait to hear how these Potato Finger Sticks turn out for you. Share your creations and stories with me over on TastyDishClub. Happy cooking, y'all!
Reader Reviews
These potato sticks were a huge hit at our family game night! So incredibly crispy, just like the description said. Will definitely be making these again.
Loved this recipe! The seasoning was perfect and they turned out so satisfyingly crunchy. My kids are already asking for more.
Seriously, best potato snack I've made at home. The trick to getting them so crispy is definitely in the baking method. So easy and delicious!
Good recipe, they were pretty crispy but I think I might have slightly overcooked mine. Still tasted great with some ketchup though!
Wow! These are dangerously addictive. I made a batch for a party and they were gone in minutes. The crispiness is unreal!
Fantastic way to make potatoes! They have a great crunch and a lovely flavor profile. I enjoyed them as an afternoon snack.
Finally, a recipe for crispy potato sticks that actually delivers! So much better than store-bought. These are my new go-to appetizer.
Leave a Review