Howdy, sweet friends! Rachel Monroe here, comin' at you from my Texas kitchen with a recipe that just screams pure joy. There's something truly magical about a banana split, isn't there? That perfect harmony of fruit, cream, and chocolate takes me straight back to hot summer nights. I remember flickering neon signs at the local diner, sharing a giant glass boat with my best pals.
I love a good oven-baked dessert as much as the next home chef. But sometimes, especially when that Southern sun is really beatin' down, you need something cool, creamy, and completely no-fuss. That's where this incredible No-Bake Banana Split Dessert steps in. It's got all the classic flavors you adore, built into a stunning, easy-to-slice square of happiness.
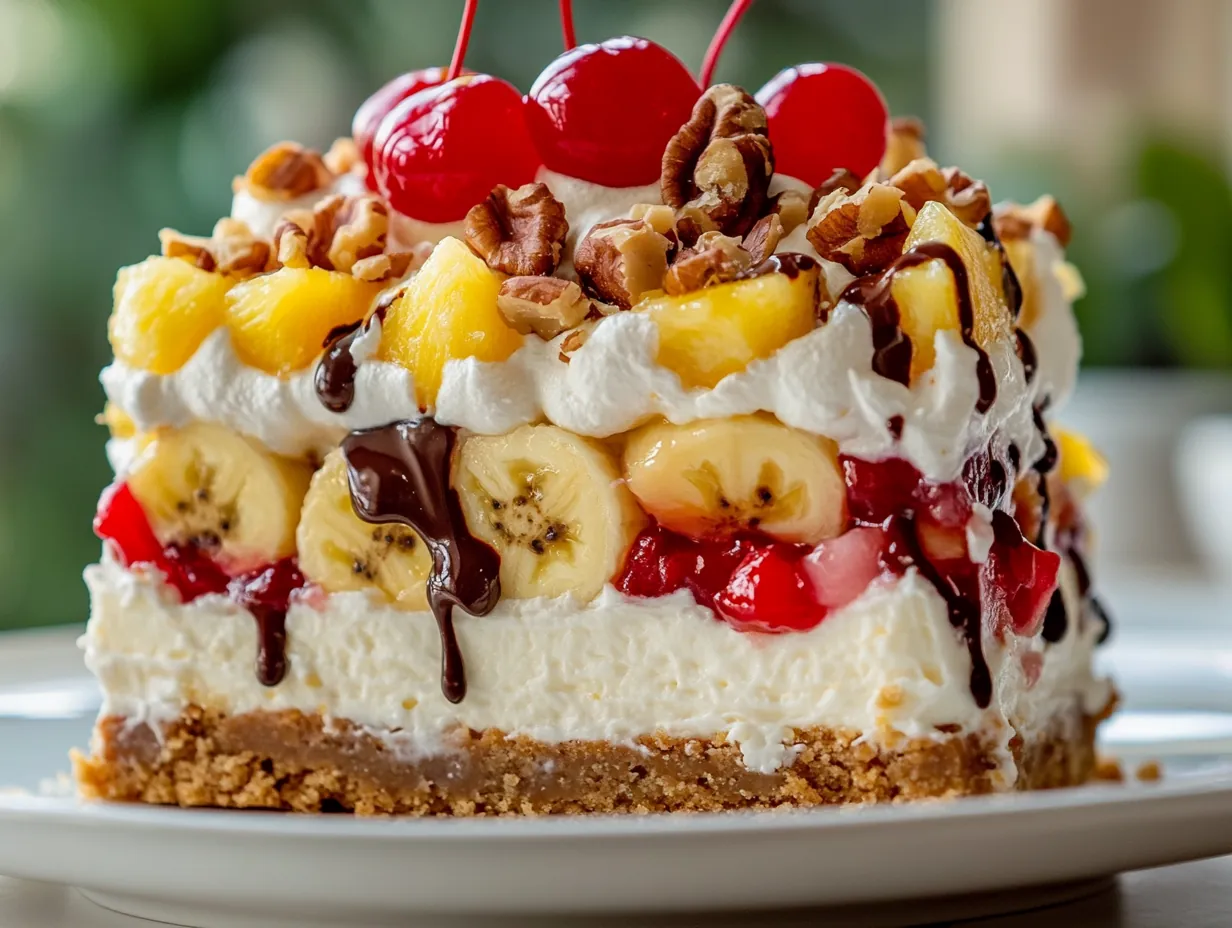
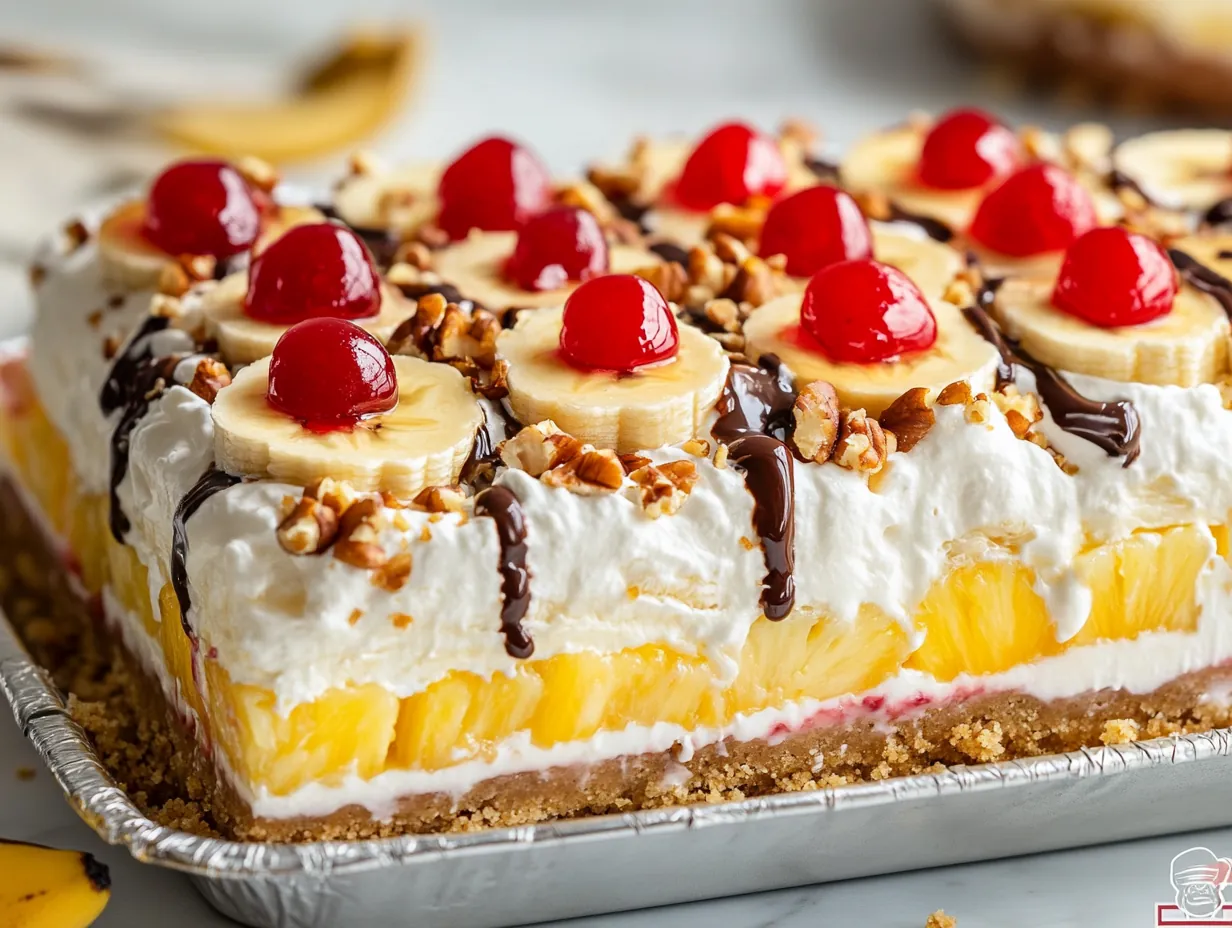
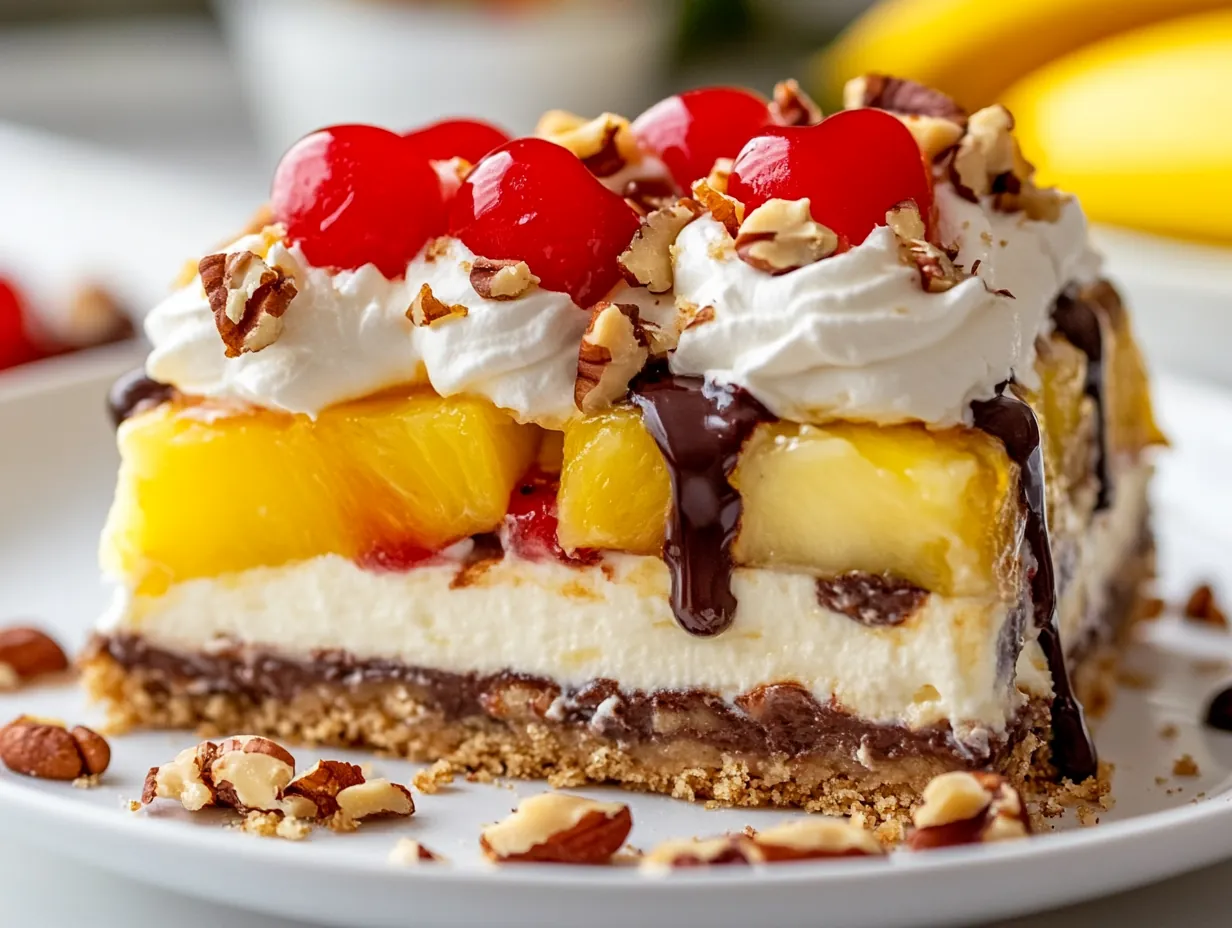
This recipe isn't just about avoiding the oven; it's about making dessert effortless and utterly spectacular. We're talking rich graham cracker crust, a velvety cream cheese layer, fresh bananas, tangy pineapple, and luscious strawberries. All are crowned with whipped topping and your favorite sundae fixings. Every bite is a little celebration. Trust me, your family and friends will ask for seconds, maybe even thirds!
I crafted this recipe to be approachable for everyone, from kitchen novices to seasoned pros. It’s perfect for potlucks, family gatherings, or just a Tuesday night when you crave something special. You deserve a dessert that tastes like a dream without all the fuss. Let's get started on creating some sweet memories together!
Crafting the Perfect No-Bake Banana Split Dessert Layers
Gathering your ingredients is the first exciting step toward dessert perfection. Each component plays a vital role in building this layered masterpiece. Simple, quality ingredients truly shine in this no-bake wonder.
- 2 cups graham cracker crumbs
- 1/2 cup melted butter
- 1/4 cup granulated sugar
- 2 (8 oz) blocks cream cheese, softened
- 1 cup powdered sugar
- 1 teaspoon vanilla extract
- 1 (8 oz) whipped topping (like Cool Whip)
- 3–4 bananas, sliced (slightly firm works best)
- 1 (20 oz) can crushed pineapple, very well drained
- 1 cup strawberry pie filling or mashed sweetened strawberries
- 1–2 cups whipped topping
- Chocolate syrup (for drizzling)
- 1/2 cup chopped peanuts or walnuts
- Maraschino cherries
Selecting Your Bananas: For this dessert, slightly firm bananas are your best friend. They hold their shape beautifully when sliced, preventing the dessert from becoming too mushy. Avoid overly ripe bananas; they brown faster and release too much moisture. Pat them dry after slicing if they seem too moist.
The Cream Cheese Foundation: Softened cream cheese is essential for a smooth, lump-free cream layer. Take it out of the refrigerator at least an hour before starting. Its tangy richness balances sweetness and provides a sturdy base. Full-fat cream cheese offers the best texture and flavor.
Whipped Topping Wonders: This ingredient adds incredible lightness and volume to our cream layer. It also acts as the luscious top coat. Store-bought whipped topping makes this recipe incredibly easy. If making your own, ensure it's stiffly whipped and unsweetened. Freshly whipped cream may not hold up as long.
Assembling Your Delightful No-Bake Banana Split Treat
Let's dive into the fun part: bringing all these wonderful ingredients together! Follow these steps carefully to create a stunning dessert that tastes as good as it looks.
- Prepare the Crust: In a medium bowl, combine graham cracker crumbs, melted butter, and granulated sugar. Mix everything thoroughly until crumbs are evenly moistened and resemble wet sand. This ensures a cohesive and flavorful crust.
- Press the Crust: Firmly press the crumb mixture into the bottom of a 9x13-inch glass baking dish. Use the back of a spoon or a flat-bottomed glass to compact it tightly. Pay special attention to corners and edges for an even base.
- Chill the Crust: Place the prepared crust in the refrigerator for 20 to 30 minutes. This chilling time allows the butter to solidify, setting the crust. It makes the base firm enough to hold the creamy layers without becoming soggy.
- Make the Cream Layer: In a large mixing bowl, beat the softened cream cheese with an electric mixer until completely smooth and lump-free. Add powdered sugar and vanilla extract, then continue to beat until the mixture is light, creamy, and well combined.
- Fold in Whipped Topping: Gently fold in the 8-ounce container of whipped topping into the cream cheese mixture. Use a spatula and fold just until no streaks remain. Overmixing will deflate the topping, making the cream layer less airy.
- Assemble the Base Layers: Carefully spread the entire cream cheese mixture evenly over the chilled graham cracker crust. Take your time smoothing it with an offset spatula. Be gentle to avoid disturbing the crust underneath.
- Add the Banana Layer: Arrange the sliced bananas. Start by placing slices along the dish edges for visual appeal when sliced. Then, spread the remaining banana slices evenly across the cream layer.
- Add Pineapple Layer: Evenly spread the very well-drained crushed pineapple over the banana layer. Use a spatula to gently distribute it. Avoid pressing too hard, as this could mix the layers or shift bananas.
- Add Strawberry Layer: Spoon and carefully spread the strawberry pie filling (or mashed sweetened strawberries) over the pineapple layer. Aim for an even coating across the entire surface. Avoid overmixing layers to maintain distinct colors.
- Top It Off: Spread the remaining 1 to 2 cups of whipped topping across the entire dessert. Drizzle generously with chocolate syrup. Sprinkle chopped peanuts or walnuts over the top, and place maraschino cherries evenly across the surface for the classic look.
- Chill and Set: Refrigerate the dessert for at least 4 hours. For best results, ultimate firmness, and clean slices, chilling it overnight is highly recommended. Patience truly pays off here.
- Serve Cold: When ready to serve, slice the dessert into individual squares. For neatest layers and cleanest cuts, wipe your knife with a damp cloth between each slice. This keeps colors vibrant and prevents smudging.
Creative Twists and Delightful Variations for Your Dessert
While the classic No-Bake Banana Split Dessert is pure perfection, sometimes it's fun to explore new flavors. These variations allow you to customize this treat for any occasion. Let your creativity shine in the kitchen!
My Creative Touch:
Tropical Paradise Version: For a sunny, island-inspired twist, swap the pineapple for a layer of well-drained mango chunks. Replace strawberry filling with passion fruit curd or mashed kiwi. Top it with toasted coconut flakes instead of nuts for an extra tropical vibe. This version is bright, vibrant, and utterly refreshing.
Chocolate Lover's Dream: If chocolate is your true love, this variation is for you. Add 1/4 cup of cocoa powder to your graham cracker crust for a darker base. Fold mini chocolate chips into the cream cheese layer for extra bursts of flavor. Drizzle with extra chocolate syrup and sprinkle with chocolate shavings on top. It’s a chocolate explosion!
Gourmet Pairings:
Beverage Pairing: A cold glass of sparkling rosé wine makes an elegant pairing. Its crisp, slightly fruity notes cut through the dessert's sweetness beautifully. For a non-alcoholic option, chilled sparkling cider or iced tea works wonderfully to refresh the palate.
Side Dish Pairing: This dessert is rich and fulfilling on its own. However, if serving as part of a larger spread, a light fruit salad with berries and melon offers a fresh contrast. The natural sweetness and juiciness prevent the meal from feeling too heavy after such a decadent treat.
Keeping Your No-Bake Banana Split Dessert Fresh
Knowing how to properly store this delicious dessert ensures you can enjoy its fresh taste for days. Proper storage also helps maintain its beautiful layered structure and creamy texture.
Storage: This No-Bake Banana Split Dessert must be stored in the refrigerator at all times. Cover the dish tightly with plastic wrap or aluminum foil. This prevents absorbing refrigerator odors and keeps it fresh. It will stay wonderfully delicious for up to 3 to 4 days. Bananas may brown slightly after the first day, but the flavor remains fantastic.
Freezing: Freezing this dessert is not generally recommended. Whipped topping and cream cheese layers can sometimes separate or become grainy after thawing. This affects the texture. Bananas will also become very soft and watery upon thawing, making the dessert less appealing. It's best enjoyed fresh from the refrigerator.
Serving: This is a chilled dessert, so reheating is not necessary or recommended. It is meant to be served cold, straight from the refrigerator. If it has been out at room temperature, simply pop it back into the fridge for 30 minutes to firm up. Serving it perfectly chilled enhances its refreshing qualities.

Answers to Your Top Questions About No-Bake Banana Split Dessert
I know you might have a few questions as you whip up this delightful dessert. Here are some common inquiries and my best answers to help you achieve perfect results. Don't hesitate to reach out if you have more!
Can I make this dessert ahead of time for a party?
Yes! This dessert is excellent for making ahead. It tastes even better after chilling overnight, as flavors fully meld. Assemble the day before, cover, and refrigerate. Add final toppings like syrup, nuts, and cherries just before serving for the freshest look.
What if I don't have graham cracker crumbs?
No problem! Crush whole graham crackers in a food processor or a bag with a rolling pin. You can also substitute other cookie crumbs. Vanilla wafers, shortbread, or even chocolate sandwich cookies work well. Adjust sugar as needed for flavor balance.
How can I prevent the bananas from browning?
Minimize browning by gently tossing sliced bananas in a teaspoon of lemon or pineapple juice. This acidity slows oxidation. Placing bananas under the cream layer protects them from air exposure. Prompt chilling of the dessert also helps significantly. Some browning is natural over time.
Well, there you have it, folks! Another truly sensational dessert, ready to bring smiles to faces. This No-Bake Banana Split Dessert is more than just a recipe. It's a little slice of nostalgia and a whole lot of easy-to-make joy. From my kitchen to yours, I hope you feel the warmth and love poured into every single layer.
Don't be afraid to make this recipe your own. Add a sprinkle of your favorite candy, try different nuts, or experiment with fruit combinations. The beauty of home cooking lies in its flexibility and the personal touch we bring to each dish. Remember, perfection isn't the goal; deliciousness and shared moments are what truly matter.
I would absolutely adore seeing your creations! Snap a picture and share it with me on social media or in the comments below. Let me know how this dessert brightened your day. Until next time, keep cooking with heart, keep those kitchens bustling, and always remember to make life delicious. Happy cooking, y'all!
Reader Reviews
I have been cooking for 20 years and this recipe impressed even me. The technique tips are really professional and useful.
The step-by-step instructions made this so easy to follow. Even my kids helped make it. A new family favorite for sure!
Quick, easy and absolutely delicious. This is exactly the kind of recipe I look for on busy weeknights. Thank you!
Absolutely stunning result for such a simple recipe. The instructions are clear and the outcome is restaurant-quality!
I substituted a couple of ingredients based on what I had on hand and it still turned out amazing. Very versatile recipe!
Leave a Review